Unleash Your Wild Side: Easy Leopard Halloween Look for Work and Play
Have you ever wished for a Halloween look that's both office-appropriate and fun for an after-work party or trick-or-treating with your kiddos? Well, your wish is my command! Today, I'm breaking down an easy leopard Halloween look that checks all these boxes. Plus, it's super fun to create!
Step 1: The Base
As with any makeup look you want to have a solid base. For me that consists of Silk Primer and Pore Minimizer and MakeSense Foundation in the shade Dewy. Not only will this provide an airbrushed finish, but both are loaded with sodium hyaluronate, aloe vera leaf juice, SenePlex Complex+, and may more ingredients for skin benefits. Remember to blend well for a smooth canvas!
Step 2: The Eyes
Next, we move on to the eyes. You want to start with a neutral or lighter shade eyeshadow. To add dimension, blend a medium shade into the crease and darker shade in the outer corner. Don’t forget to highlight the inner corner of your eyes and smudge some under your eyes for dramatic effect!
This step will be your classic “smoky eye” look. If you want to use classic leopard colors, think browns, coppers, tans, you would use similar shades on your eyes. If you want a more colorful leopard, think Lisa Frank inspiration, go with similar shades on the eyes for that.
As far as eyeliner goes, you will want to use black or something darker in color, and take it completely around your waterline on both top and bottom. Then add a tiny wing both at the inner corner and outer corner. Finish with your lash primers and mascara as usual! My faves are obviously UnderSense 3-in-1 Lash Primer and Black Waterproof LashSense Mascara.
Step 3: The Lips
With SeneGence products you have SO many options you can use for your makeup looks. For example, you can use LipSense, HydraMatte LipSense, BlushSense, or ShadowSense on your lips. I was going for extreme longevity here so I used Blackberry LipSense on the top lip and Amber Spice LipSense on the bottom lip sealed in with Glossy Gloss.
Remember, you can create custom shades here! In the “green” version of this look posted below I used Metallic Magic LipSense to sandwich Neon Green Shimmer ShadowSense in between to give a more green lip to match my spots. Or use different glosses to give off different sheens. Get creative!
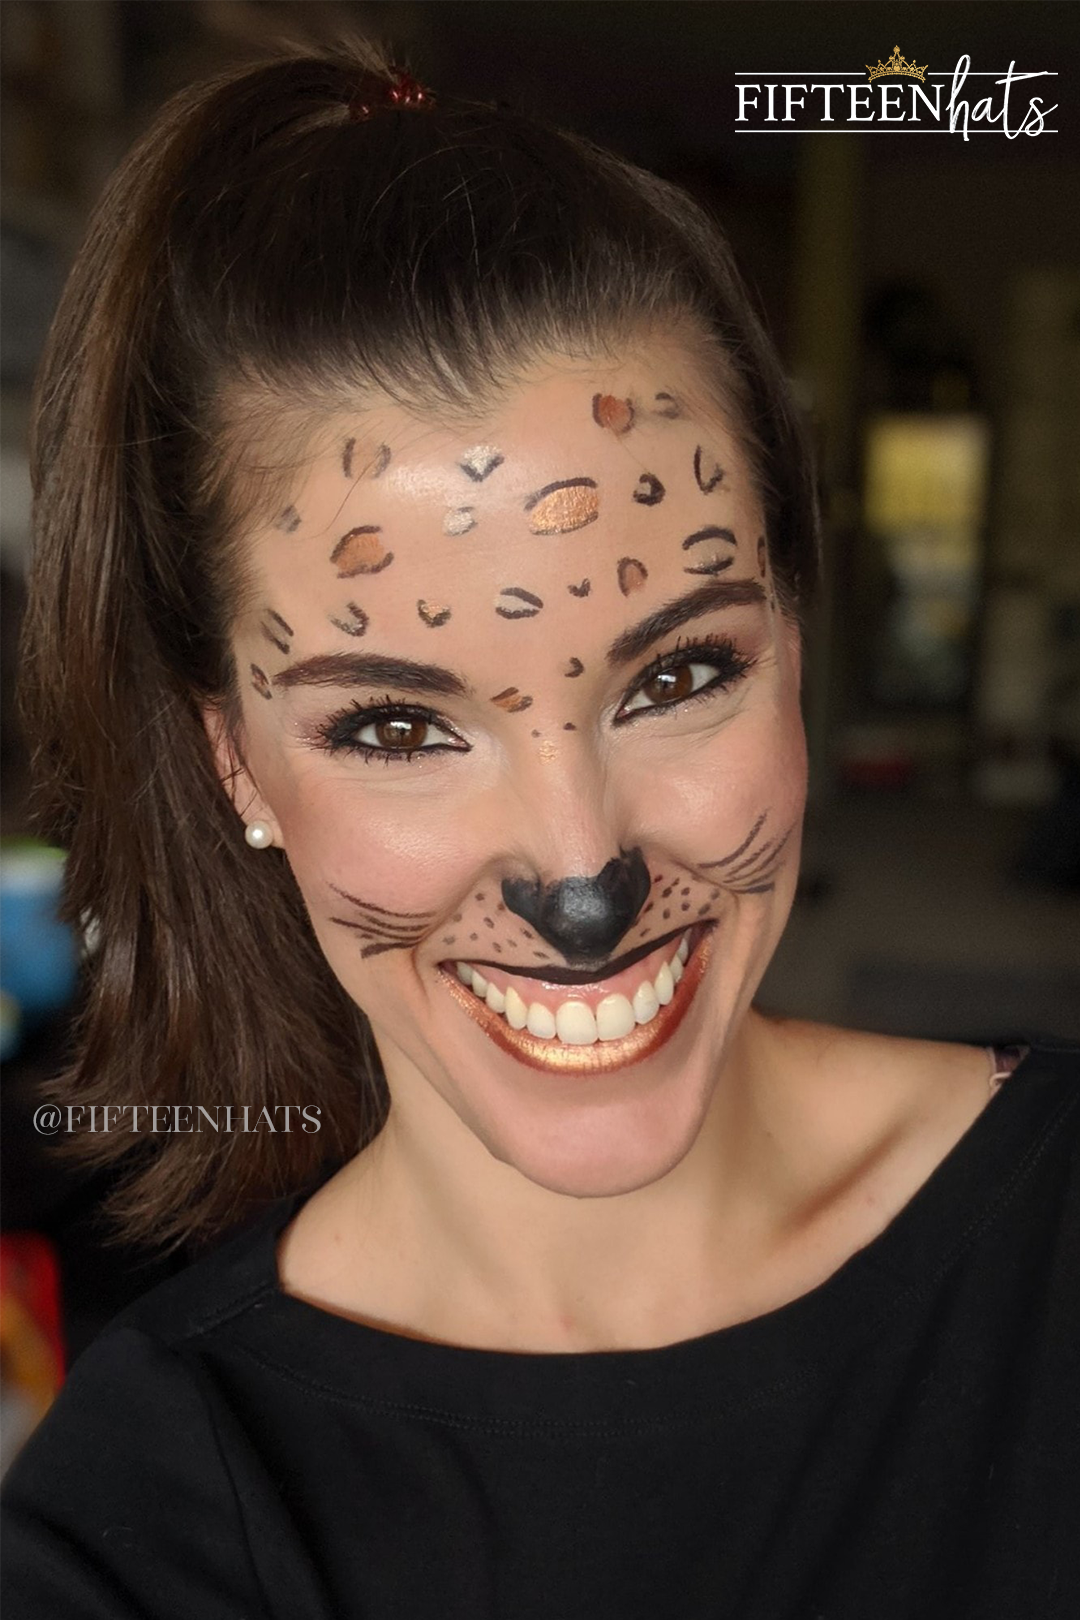
Step 4: Whiskers and Nose
Now comes the fun part - drawing on whiskers, dots (or vibrissae, I had to look it up), and defining the nose. Try not to overthink like I do, you can always erase and redo! Here I’m using Onyx ShadowSense, but again the options are endless. You could use Blackberry LipSense, EyeSense Pencil Liners, or EyeSense Pen Liner. By the way, a small triangle on the tip of the nose I find more flattering than going across your entire nose.
Step 5: The Spots
Play with your spots! You don’t have to be perfect. Alternate drawing half egg shapes and V’s across your forehead. Just evenly space it and then fill in with your desired colors. I find patting in the color and then deepening up the edges again was easiest. I used Onyx ShadowSense again, but you can use all the same options as above for whiskers.
In the video above, I used Copper Rose Shimmer and Sandstone Pearl Shimmer ShadowSense colors, but again you can use any shadow colors, see all options here.
And there you have it! A leopard look that's easy to transition from day to night, office to party, or classroom to trick-or-treating. The best part? You're not just coloring your face - you're also taking care of your skin thanks to the non-comedogenic and anti-aging properties of the products used.
Will you be trying out this look? Let me know in the comments below!